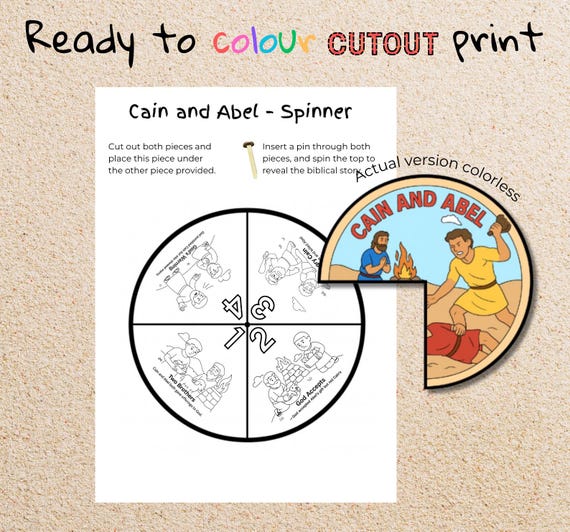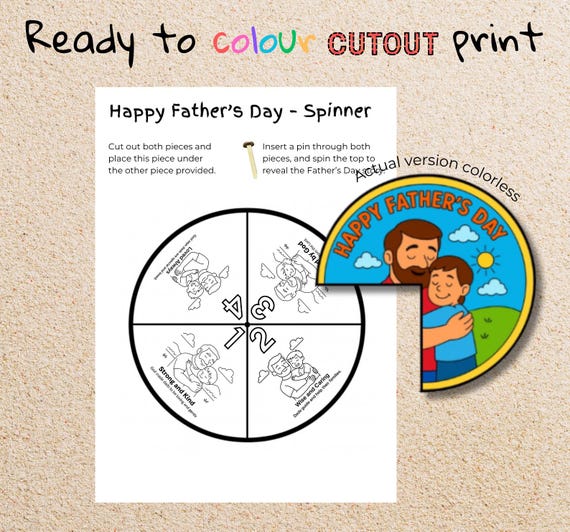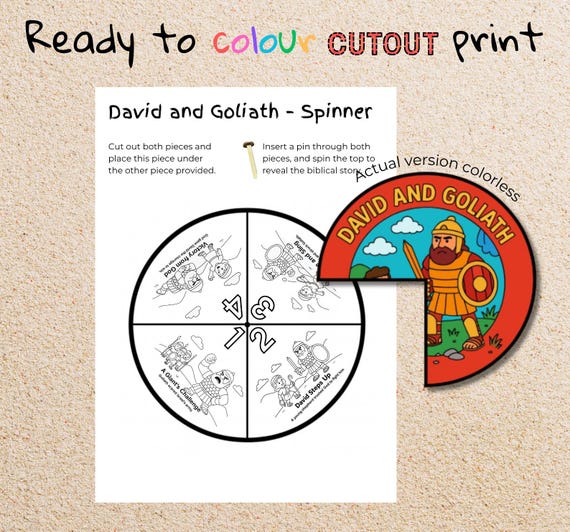
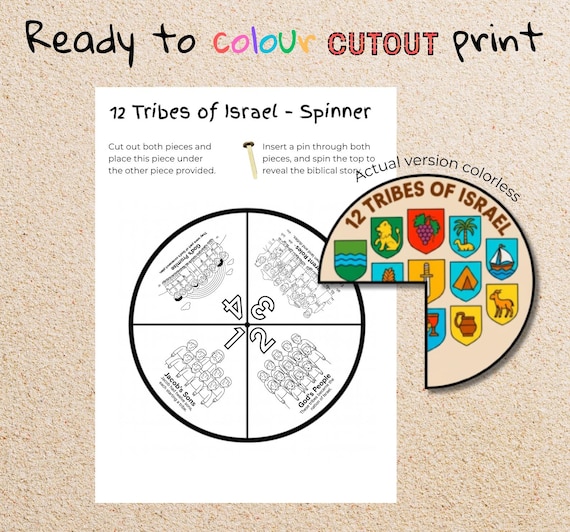
The Journeys of Paul spinner matched the description and definitely met my expectations. The children in my class enjoyed coloring it. It went together easily and was easy to turn the wheel so the children could read the story and see the pictures. It was just the craft we needed for our Bible story.
Assembly video coming soon.
We’ll add a step-by-step demonstration here.
Photos from the Etsy listing. View original Etsy listing ↗
Bible story wheel
Journeys of Paul Story Wheel Craft
5.0 out of 51 reviewA printable Bible story wheel based on Journeys of Paul. Children colour and assemble the wheel, then turn it to revisit the story sections. Explore how Paul shared the good news across different places, and practise tracing the sequence of his journeys.
- Suggested ages
- 6–10 years
- Activity time
- 20–35 min
- Difficulty
- Moderate
English
Age, time and difficulty are planning guides. Check the preparation notes for adult help.
$3.15 USD
One-time purchase
Digital download · No physical item shipped
What’s included
- 4 named story or lesson sections
- Sections stated in the listing: Paul Travels: Paul went on long journeys to share the gospel; Churches Planted: He started churches in many cities; Letters Written: Paul wrote letters encouraging believers; God’s Mission: He spread Jesus’ message to all people
Your download files
- JourneysofPaul.pdf: 2 pages
File inventory and page counts checked against the originals. Page counts include any instruction pages. Please check the preparation notes before printing for a group.
Getting ready
Age & adult help
The circles, viewing window and rotating mechanism require cutting and alignment.
An adult should prepare any centre hole and fit the fastener if the template uses one. Help cut the viewing window.
What you’ll need
Printer, paper or light card, colouring pencils or crayons, scissors. A split pin (paper fastener) and adult-made centre hole are suggested; confirm the template’s mechanism.
Time & preparation
One wheel, including colouring and assembly. Teaching time is additional.
Age is an editorial estimate for the motor and reading demands of this format. Difficulty, completion time and suggested tools are planning estimates, not build-tested.
Check the file before you print for a group, and allow for any extra help the kids might need.
Printing tipsThe story behind the craft
Bible passage: Acts 13–21
Paul’s journeys take him and his companions through different towns and regions, where they teach and help establish communities. The accounts include returning to encourage believers as well as travelling somewhere new.
Main takeaway: Paul’s journeys are about people and encouragement, not only distances on a map.
As you turn the wheel
Turn slowly and use each revealed section as a pause in the retelling.
Trace the locations actually named and note a person or community at each. Keep the order of journeys separate from a single storm or arrest scene.
Younger learners can predict the next pictured event. Older learners can explain a character’s decision at the point where it appears.
Questions to explore
- Why did Paul revisit some places?
- Who travelled with him?
- How can keeping in touch strengthen a community?
Common questions
What files are included in this download?
The download is a 2-page PDF: JourneysofPaul.pdf. This is the English edition. You print the files yourself; physical supplies are not included.
How do I make the wheel turn?
Colour and cut the two wheel pieces. Place the story disc beneath the cover, line up their centres and attach them with a paper split pin. Turn the top piece to reveal each story section. The pictured scenes include: Paul Travels: Paul went on long journeys to share the gospel; Churches Planted: He started churches in many cities; Letters Written: Paul wrote letters encouraging believers; God’s Mission: He spread Jesus’ message to all people.
Which pages should I print, and at what size?
The original PDF pages are A4 portrait. JourneysofPaul.pdf: print the pages you want to use for each learner or group. Print single-sided. On US Letter paper, select Letter and Fit or shrink to the printable area; the originals are not separate Letter-sized files.
What supplies and preparation does this need?
Paper or printer-compatible light card, colouring pencils, scissors and a paper split pin. An adult should make the centre holes and prepare the viewing opening.
What help might children need with this activity?
Suggested ages: 6–10 years. An adult should prepare any centre hole and fit the fastener if the template uses one. Help cut the viewing window. Adjust this guide for the child’s reading and making skills.